Coaxial Tube Speakers
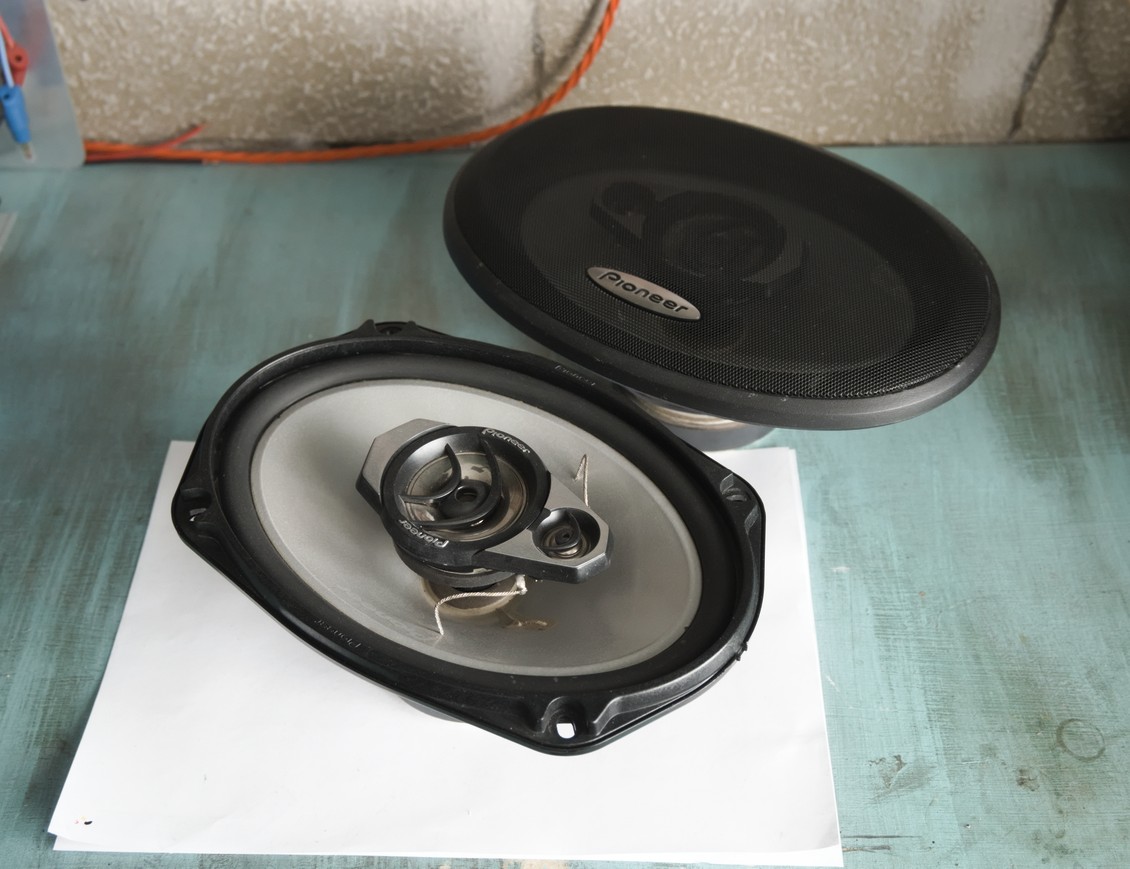
When I owned a car, I tried to imbue it with the power to cause permanent hearing damage. Thankfully it didn't work, and I still have my hearing. I also still have some of the speakers, including a pair of Pioneer TS-A6968 6x9" coaxials. I wanted to take advantage of the fact that they are oval - exactly the same shape as the cross section of a cylinder cut at 45° - by mounting them on the end of some cylindrical enclosures. However, I could never work out how to fabricate a suitably shaped baffle by hand. I'm living in the future now though, where we can conjure objects of arbitrary shape at will using a process called 3D printing.
Baffle
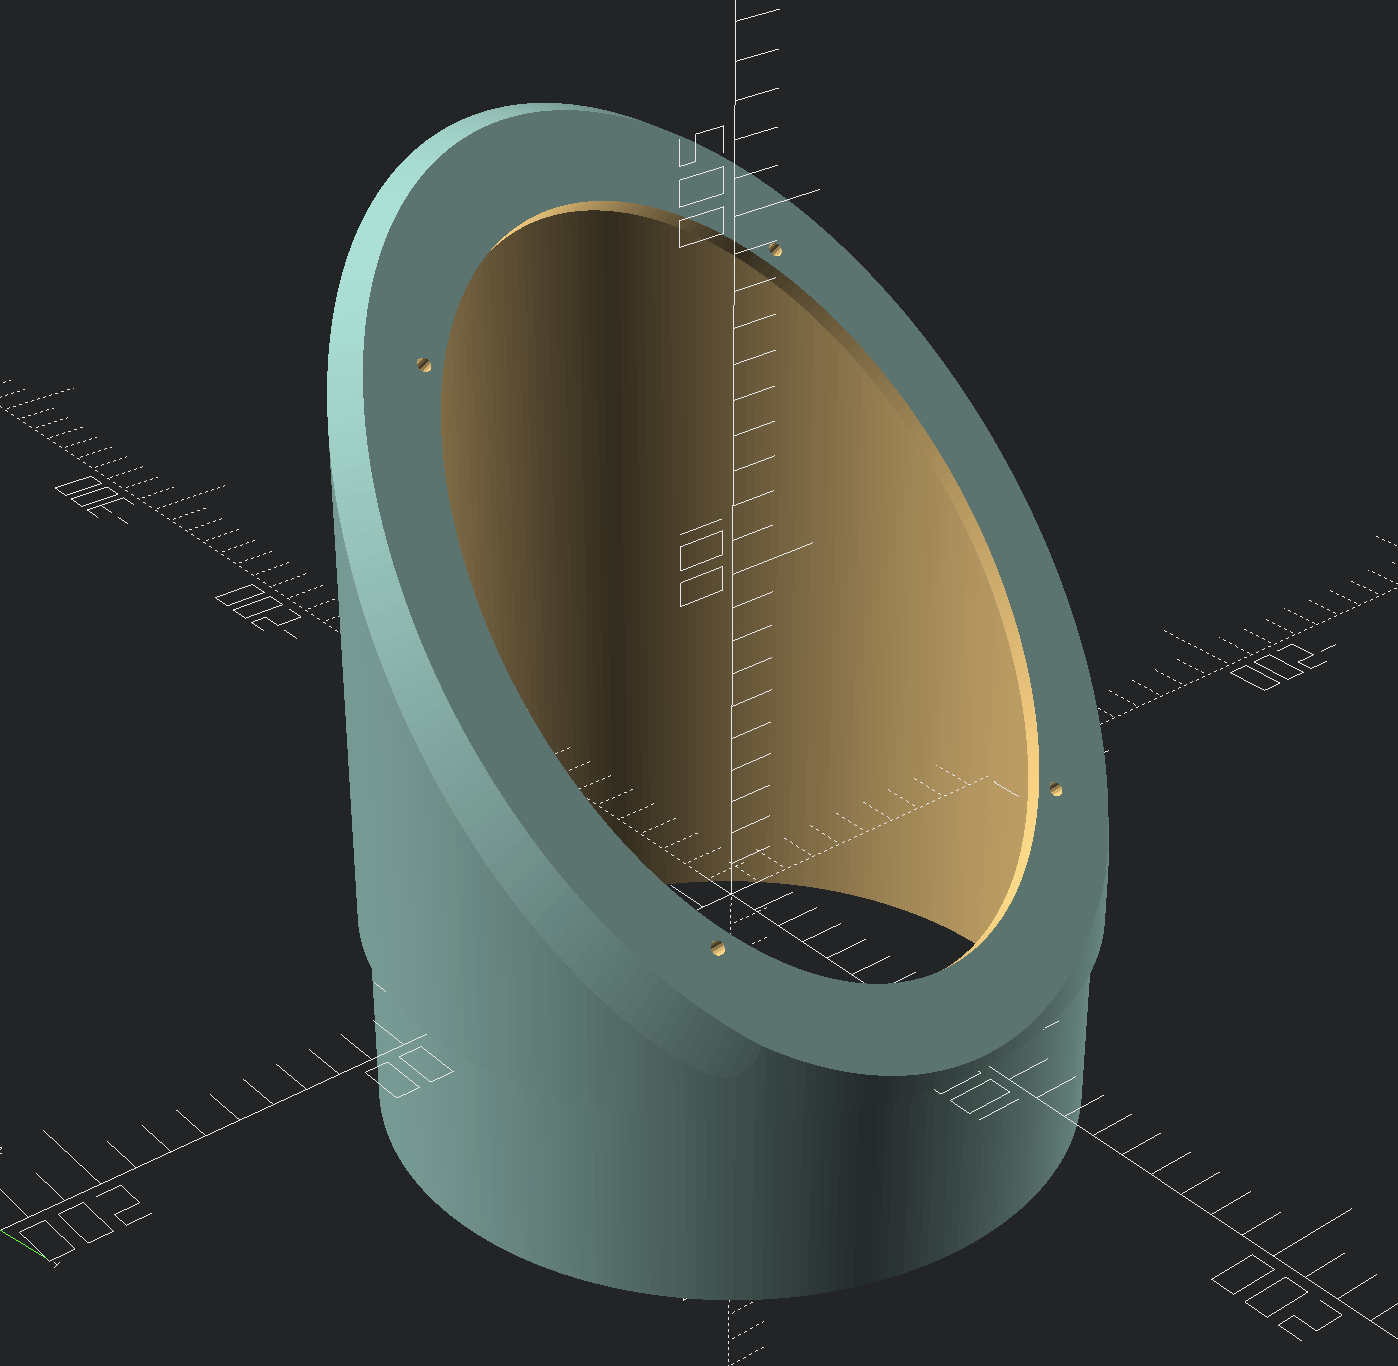
To design the baffle, I used a program called OpenSCAD. It's perfect for a programmer like me, as it allows objects to be defined by writing instructions as text, like a programming language. To form a baffle, I needed a hollow cylinder cut at 45° with a hole for the speaker to fit into, and on the bottom a bit that will fit into a tube. This is what the code looks like:
OpenSCAD can turn that into a 3D object, like this:
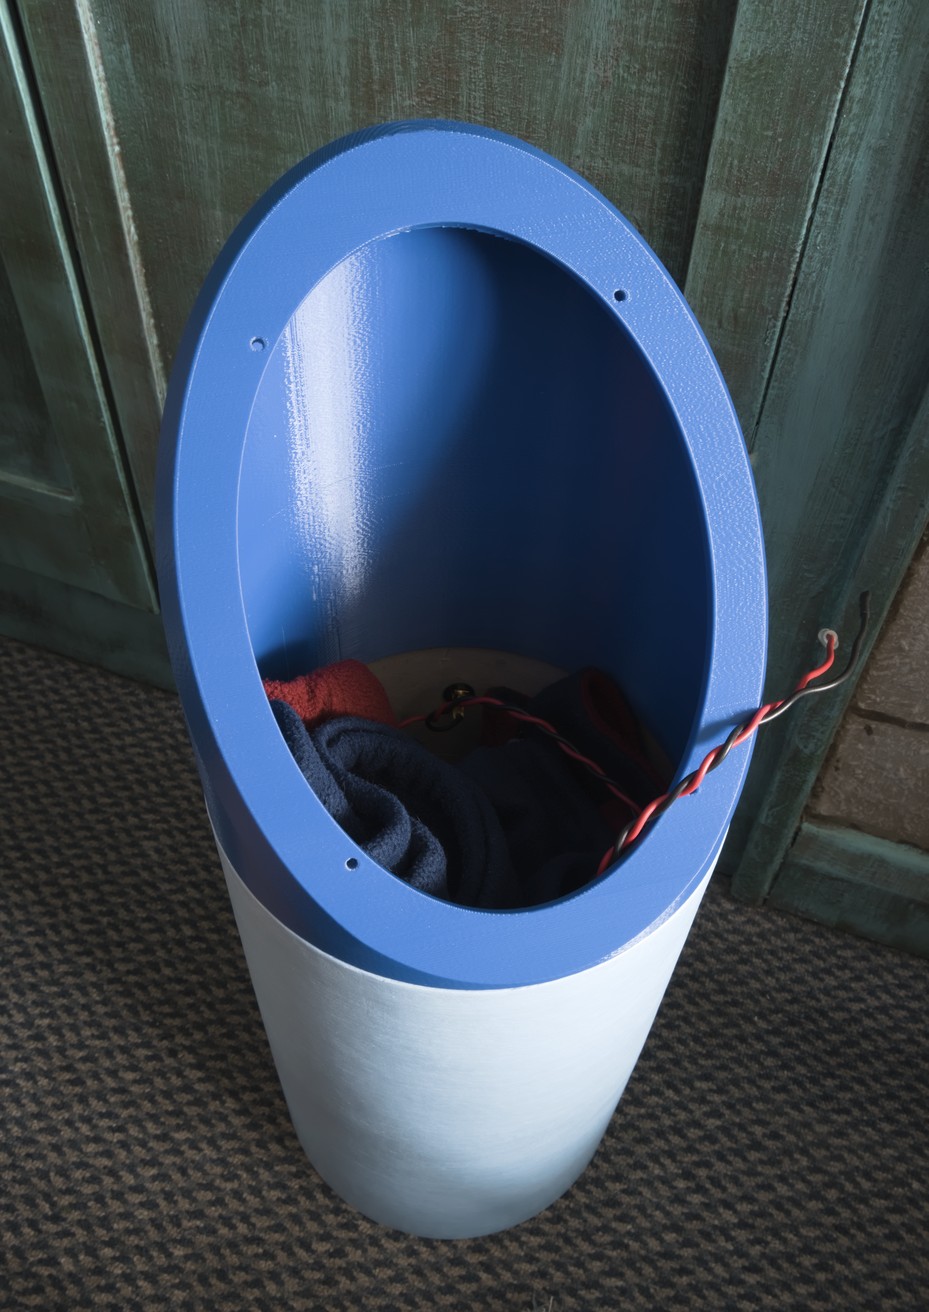
I don't have a 3D printer, so I had to find someone else to print it for me. I looked at a few companies that offer 3D printing services, and found that not all will print something of this size, and many of those have prohibitively high prices. In the end I used Lancashire3D, who are more reasonably priced. Having little experience with 3D printing at all, I wasn't sure how well it would turn out, so I was pleased when I received this:
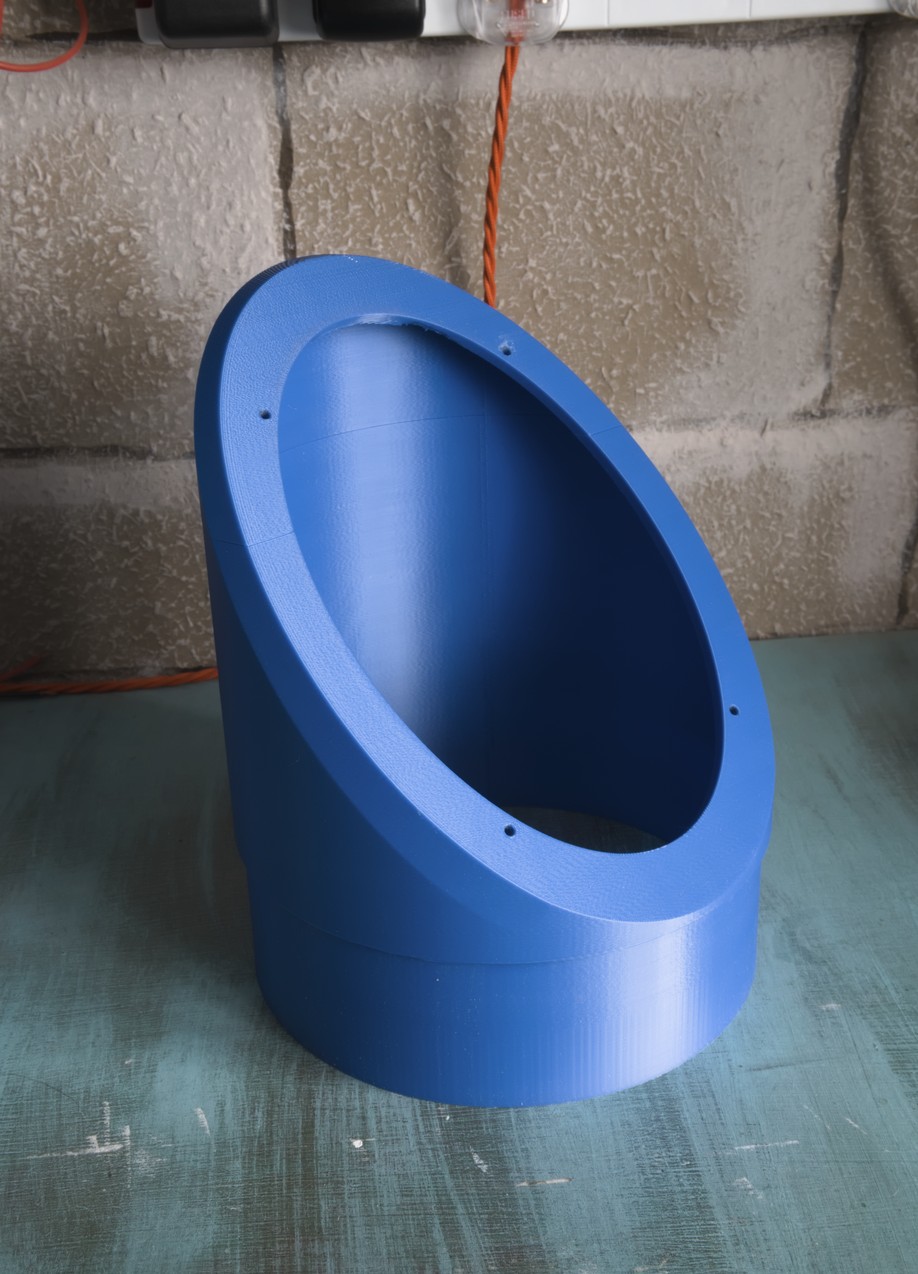
It's slightly rough on the inside at the top where it overhangs, but everything else looks nearly perfect. Most importantly, the dimensions are accurate. Although I deliberately chose to have it printed at the lowest possible resolution (0.3mm) so that it would look 3D printed (it's cheaper too), it actually looks quite smooth until you get close.
Tubes
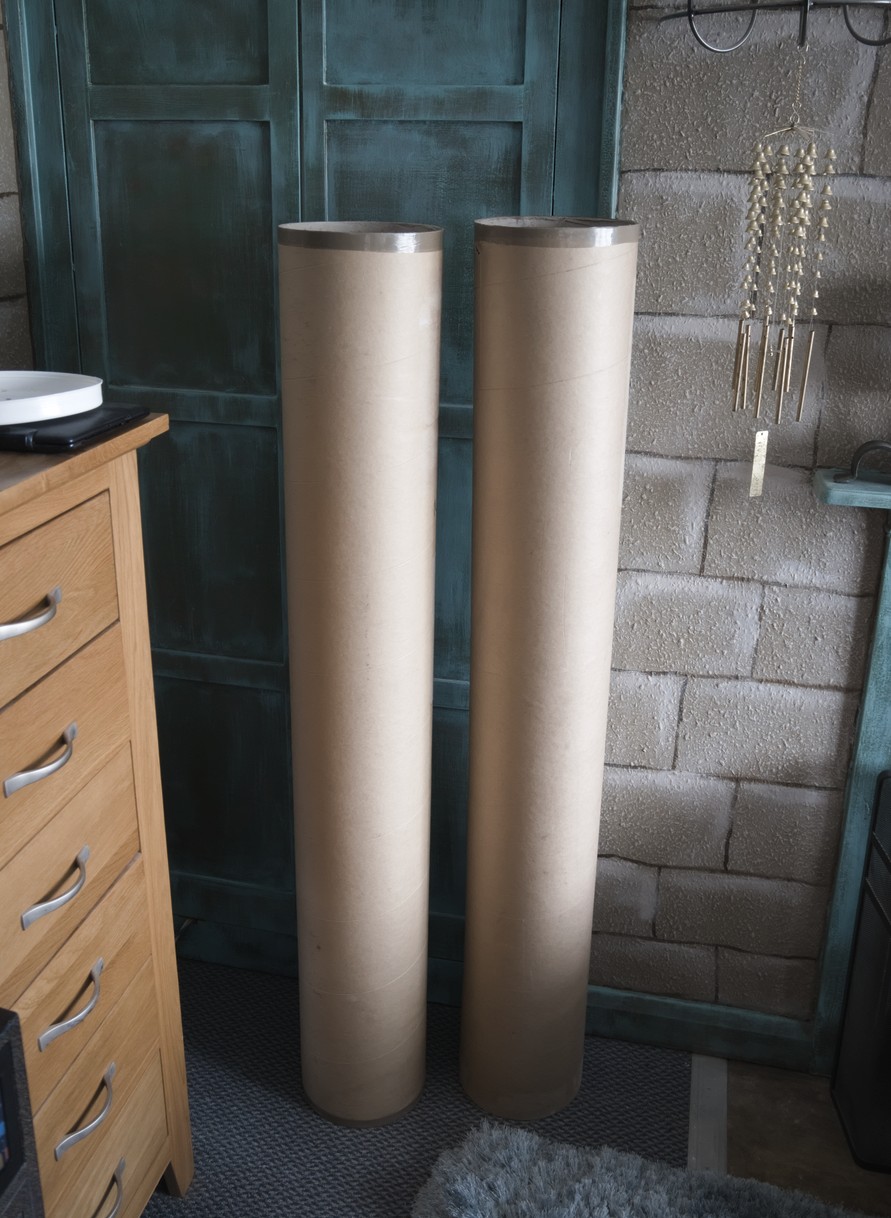
Huge cardboard tubes are readily available in the form of postal tubes, often coming with plastic end-caps. They are quite thin, which isn't ideal for speakers, but they are cheap and easy to cut. I wasn't quite sure how much I would need, so I bought a pair of really long tubes.
Measurements
As a first step to determining how long the tubes would have to be cut, I tried measuring the speakers' impedance, just to see what the resonant frequency is. I did that by placing a 10Ω resistor in series, applying a sine wave sweep with a signal generator, and measuring the ratio of the voltage across the speaker and series resistor. I repeated the process for both speakers, and plotted the results.

Ok, they are significantly different, and that lump on the side is a bit odd. Nevermind though, they are old and well used, so they're not going to be perfect. Maybe if I just forget about measuring the driver parameters, and measure their frequency response in the tubes directly...

I took these measurements using REW, with a UMIK-2 microphone placed on-axis at a distance of about 15cm. There are really strong peaks and dips from about 100Hz and up, which is expected since cylinders resonate strongly. That's ok, as there are ways of damping it. There's also significantly increased output starting around 10kHz. Hopefully that's only because the tweeter is beaming on-axis, and it will be better off-axis. The two speakers have more or less the same frequency response, so the difference in impedance isn't causing a problem.
Next, measurements with the length of the tube reduced to 33cm (I took a few at other lengths too, but there's no point showing them all).

That looks like it might be useable, but it's hard to tell with that pipe resonance getting in the way, so the next step is to apply some damping. Usually I would use polyseter wadding for this, but I didn't have any, so I grabbed the closest thing available, which was an old fleece jacket, and crammed it inside.

Much better. There's still a bit of a dip down at 70Hz (room interaction?), but these are going to be used as surround speakers, so they won't have to reproduce much down there.
With the way they are mounted, these speakers are always going to be heard at least 45° off-axis vertically, so that's what I measured next, at the same distance.

Oh dear, it doesn't look nice at 2.4kHz and 8.5kHz. That's probably because the crossover consists of just a capacitor, which means all three drivers overlap in frequency reponse a lot, leading to comb filtering. On the plus side, the response above 10kHz is lower, and the dip at 70Hz is gone. It's good enough.
Construction
Not much to say about this. I cut the tubes to length (which is easy to do with just a sharp knife), painted them with ordinary emulsion, glued the baffles in with PVA wood glue, and used the standard plastic end-caps to cover the other ends. I used binding posts on the back for connecting to the speaker cable.

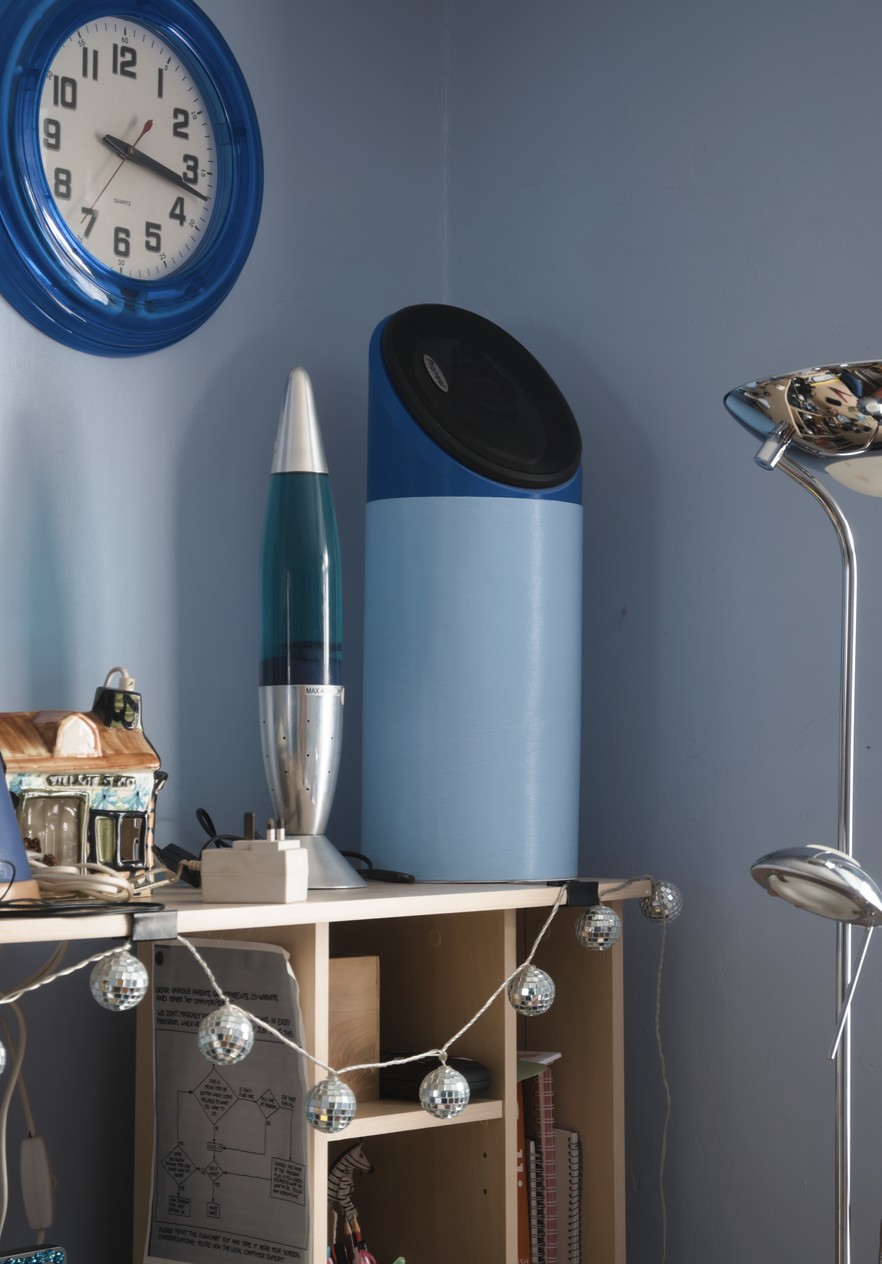
Installation
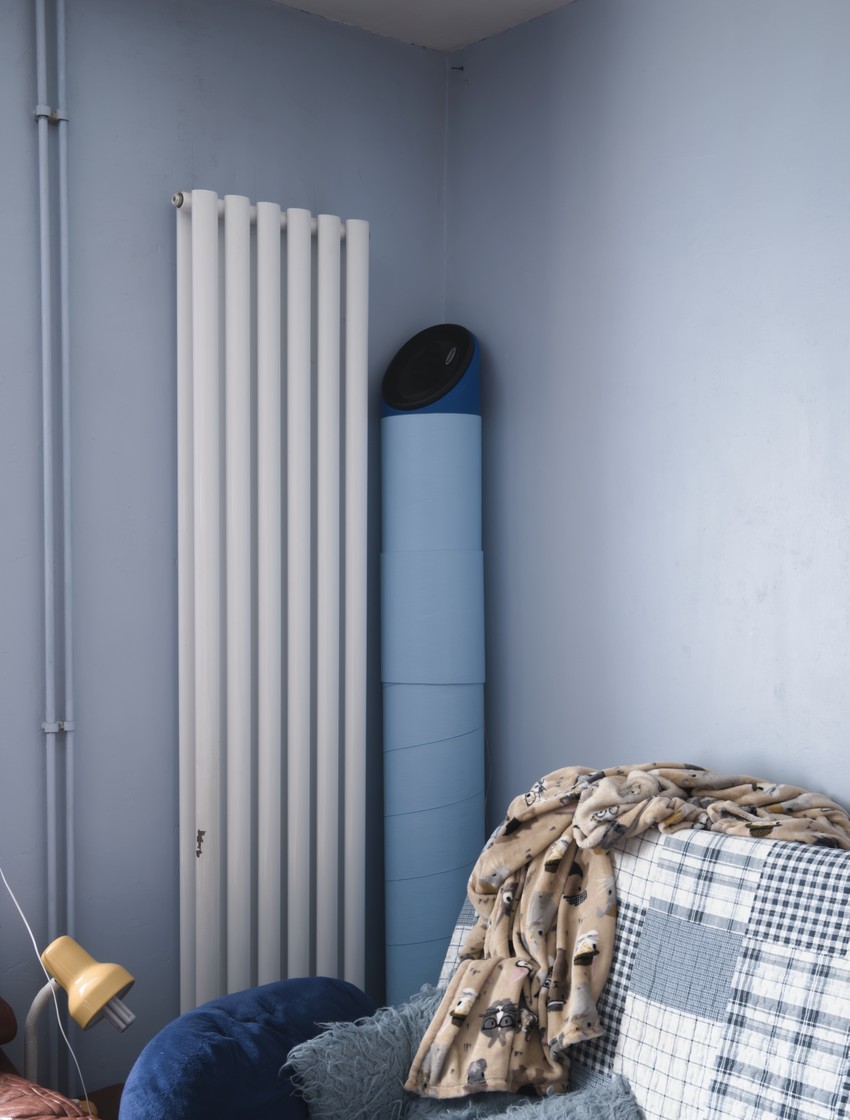
The speakers are used as the rear pair in our sitting room, mainly for watching TV and films. One corner of the room has a shelf at a suitable height to put a speaker on. The other side does not, so I made a tall stand from the remaining length of cardboard tube.
Surround speakers mostly only emit ambient sounds, so you're often not even consciously aware that they are producing sound at all. This makes it hard to get an impression of what they sound like. They seem alright though. Used in this role, most of the shortcomings of this sort of coaxial car speaker are masked, as the sound they produce is reflected off the walls and ceiling rather than heard directly. It's no coincidence that this is what typically happens in a car too, where speakers mounted on the rear parcel shelf bounce sound off the rear windscreen.